
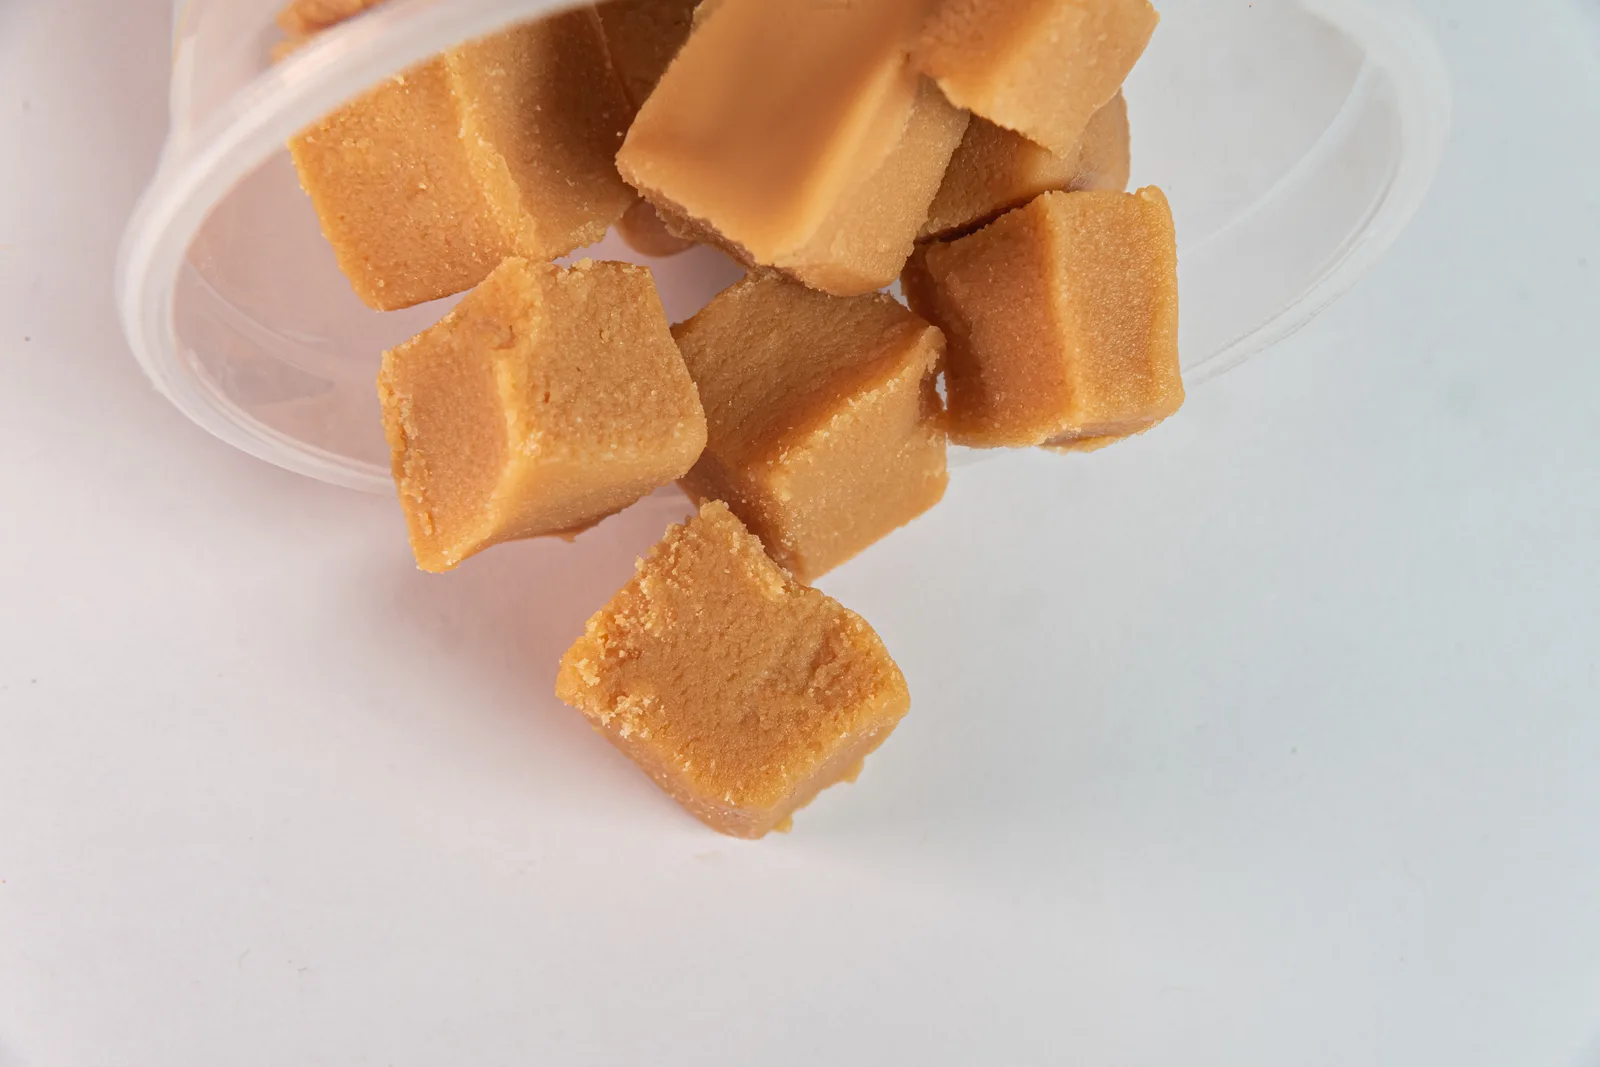
Panelitas de leche (pah-neh-LEE-tahs deh LEH-cheh) are Colombia’s milk fudge: small, firm, tan squares made from milk and sugar boiled down for well over an hour, with no chocolate and almost no butter. Panelitas translates as little panelas: they are cut like tiny blocks of panela, the Colombian cane sugar, though they contain very little of it. The texture is dry and faintly sandy, a firm bite that dissolves on the tongue. Here is how to make 36 of them from a liter (4¼ cups) of whole milk, how to tell when the pot is ready with or without a thermometer, why they sometimes turn out sticky or gritty and how to rescue them.
What panelitas de leche are and what to expect
How do you make panelitas de leche? Boil 4 cups (940 ml) of whole milk with 2½ cups (500 g) of sugar, a little panela and baking soda, reduce for 50 minutes, thicken with rice flour and stir nonstop until it reaches 234 to 239°F (112 to 115°C) and pulls away from the pot. Beat it off the heat until it turns matte, spread it in an 8 in (20 cm) square pan and cut it once set. 110 minutes for 36 squares, plus 2 hours to cool.
If you know American fudge, this is its milk-only cousin. Fudge gets its flavor from chocolate, butter or cream; panelitas get theirs from the milk itself, which browns slowly in the pot and ends up tasting like a firm, crumbly dulce de leche. In Colombia they are sold in packets at corner stores and supermarkets, and plenty of people make them at home.
They are a different thing from arequipe, Colombian dulce de leche, which uses less sugar, stops at 225°F (107°C) and stays spreadable. That 9 to 14°F gap, plus the beating, is the whole difference. Nor are they Venezuelan leche cortada, which is curdled milk in spiced syrup.
Time. 110 minutes at the stove, then 2 hours to cool. The first 50 minutes need a stir every 5 minutes; the last half hour and the beating need you there the whole time. Difficulty: medium. Nothing tricky, but the set point is won or lost in a couple of minutes.
Ingredients, and what to buy in the US and UK
The full list is in the recipe card. The ratio that matters is 500 g of sugar per liter of milk, roughly 2½ cups of sugar to a quart. That is a lot more sugar than arequipe, and it has to be: the extra sugar is what crystallizes into tiny grains and makes the squares firm enough to cut.
| Colombian ingredient | US | UK | What changes |
|---|---|---|---|
| Leche entera | Whole milk | Whole milk (blue top) | Nothing |
| Panela, 25 g | Piloncillo or panela from the Latin aisle, or dark brown sugar | Dark muscovado or soft dark brown sugar | Nothing you can taste at this amount |
| Harina de arroz | White rice flour | Rice flour | Nothing |
| Maicena | Cornstarch | Cornflour | Same result as rice flour |
| Bicarbonato | Baking soda | Bicarbonate of soda | Nothing |
Which milk works
Use plain whole milk. The two usual shortcuts fail in different ways:
- Powdered milk, reconstituted per the package, gives very pale, dry squares with coarse crystals that are hard to chew, and they barely taste of milk. Only as a last resort.
- Lactose-free milk (Lactaid and similar) has its milk sugar already split into glucose and galactose, which brown much faster. The pot turns dark and tastes scorched before it gets to the set point. Skip it.
- Milk that smells or tastes sour will curdle during the long boil even with the baking soda. Taste it before you start.
Why the flour, the panela and the baking soda
- Rice flour or cornstarch gives the mass enough body to set and cut cleanly. Whisk it into cold milk first; dropped dry into the hot pot it makes little white lumps you will feel when you bite.
- Panela is there for color and texture, not flavor: at 25 g you will not taste it. Leave it out and use 525 g of white sugar for paler squares.
- Baking soda neutralizes the milk’s natural acidity so it doesn’t curdle over an hour of boiling, and it speeds up browning. More than ¼ tsp leaves a soapy aftertaste.
Equipment
- A heavy 4 to 5 quart pot, about 10 in (24 to 26 cm) wide. Milk with baking soda foams up when it boils, and a thin base scorches the thick mass at the end.
- A long wooden spoon. The mass spits, and it is hot.
- A candy or instant-read thermometer that goes past 300°F (150°C). Not essential, but it takes the guesswork out.
- An 8 x 8 in (20 x 20 cm) pan and parchment. The slab comes out about ⅝ in (1.5 cm) thick.
How to make panelitas de leche, step by step
The timing
It is a one-afternoon job; the only thing to do ahead is lining the pan. What helps is knowing where the arm work is:
Start everything cold
Mix the milk, sugar, panela and baking soda in the pot before you turn the heat on, so every grain of sugar dissolves before the boil. One undissolved crystal that survives to the end can make the whole batch seize into coarse grains. The milk will foam when it first boils; at medium heat the foam settles in a few minutes.
For the next 50 minutes you only need to stir every 5 minutes, scraping the bottom. When it has lost more than half its volume, is pale tan and as thick as condensed milk, stir in the flour slurry, hard, so it doesn’t lump.
Reading the set point
From the moment the flour goes in, the mass thickens fast and you have to stir without stopping, scraping the bottom and corners, for 25 to 30 minutes. Temperature climbs as water boils off, so the thermometer is really telling you how much water is left:
Hold the thermometer tip in the middle of the mass, off the bottom of the pot, which always reads hotter. Without a thermometer, wait for all three of these signs together:
- It pulls away. As you stir, the mass comes away from the bottom and sides and moves around the pot in one heavy block.
- The spoon leaves a track. Drag the spoon across the bottom and you can see the pot through the gap for several seconds before it closes.
- The cold-water test. Drop half a teaspoon into a glass of very cold water and give it a few seconds to cool there before you touch it: straight from the pot it burns. If it dissolves or trails into threads, keep going. If you can pinch it into a soft ball that holds its shape, it’s done. If the ball is hard and won’t squash, it went too far.
Beat until it turns matte
This is the step that makes it panelitas and not a soft caramel. Off the heat, beat with the wooden spoon for 5 to 8 minutes. Beating sets off a huge number of tiny sugar crystals all at once, which is why the grain comes out fine. Skip it and the sugar either crystallizes slowly into big grains or doesn’t crystallize at all and stays chewy.
You’ll see the shine go flat, the color lighten a shade, the mass stiffen until it is hard work to move, and the edges of the pot start to set. It will be around 158°F (70°C). Pour right then; two minutes too long and it sets in the pot.
Pour, score and cut
Tip it into the lined pan and smooth it quickly with a buttered spatula. Cool at room temperature, not in the fridge, which makes the surface damp.
After 30 to 40 minutes, while it is warm and firm, I score it 6 x 6 with a buttered knife into squares of about 1¼ in (3 cm). Scored warm, they break cleanly later; cut stone cold, they splinter. After 2 hours, lift the slab out by the parchment and finish cutting.
Troubleshooting sticky, gritty or crumbly panelitas
Almost every problem comes from the set point or the beating, and most can go back in the pot:
- Sticky, clings to the knife. It didn’t reach 234°F (112°C), or it was poured without beating. Scrape it back into the pot with 3 tbsp (45 ml) of milk, warm it over low heat, stirring, until it loosens, then cook it back to the set point and beat it properly.
- Gritty, with crunchy grains. Undissolved sugar at the start, crystals scraped off the pot walls when pouring, or powdered milk. Good panelitas are a little sandy, but finely so. Fix it the same way: milk, back in the pot, back to the set point.
- Rock hard or crumbles when cut. It went past 241°F (116°C). Same fix with the 3 tbsp of milk.
- Tastes scorched, dark specks. It caught on the bottom from a thin pot or a pause in stirring in the last half hour. No fix.
- White lumps. The flour went in poorly dissolved, or mixed with warm milk.
- Curdled during the boil. The milk was sour. Start over with fresh milk.
Allergens. Contains milk. With rice flour or cornstarch it is gluten-free; some Colombian home cooks use wheat flour, which isn’t. Kids love them, but they are very sweet, at about 75 calories a square.
Coconut panelitas and other variations
- Coconut. Milk-and-coconut panelitas are sold in packets in Colombia too. At home, stir in 100 g (1¼ cups) of unsweetened shredded coconut (UK desiccated coconut) right after the flour and carry on to the same 234 to 239°F (112 to 115°C). Avoid sweetened flaked coconut, which adds more sugar to a pot that already has plenty.
- Cinnamon or vanilla. Simmer a cinnamon stick in the milk from the start and fish it out before the flour, or add 1 tsp vanilla extract as you begin beating.
- Darker. Use 50 g of panela and 475 g of sugar. More color and a clear panela flavor, further from the pale store-bought kind.
- A double batch. 2 liters (2 quarts plus ½ cup) of milk in a 6 to 8 quart pot 11 to 12 in wide, poured into an 11 x 11 in (28 x 28 cm) pan or two 8 in pans. The reduction takes a good deal longer; the set point is the same. Don’t make a half batch: with only 2 cups of milk there is so little in the pot that it catches before you can read the temperature.
With Colombian obleas and coffee, a plate of panelitas makes a proper Colombian sweets table. For a coconut candy that is mostly coconut, the Venezuelan coconut conservas set at almost the same temperature.
How to store panelitas
- Room temperature: airtight tin or box, parchment between layers, somewhere cool and dry, 1 to 2 weeks. This is how they keep best.
- Fridge: no need, and they sweat and turn tacky when they come out.
- Freezer: wrapped in plastic inside a sealed container, up to 3 months. Thaw them in the closed container so condensation doesn’t form on them.
In a humid kitchen, wrap them one by one in cellophane or wax paper: sugar pulls in moisture and the outside softens.
Panelitas de leche FAQ
How do I adjust the temperature at high altitude? Water boils below 212°F (100°C) at altitude, and every sugar stage drops by the same amount. Put your thermometer in boiling water and note the reading, then subtract the difference from 234 to 239°F. In Denver, where water boils at about 202°F, that means about 224 to 229°F. The pull-away and cold-water signs don’t change with altitude.
Can I use sweetened condensed milk instead? You’ll get a different candy, closer to Dominican dulce de leche en tabla, made from a can cooked for about 20 minutes. It’s quicker but has neither the slow-cooked milk flavor nor the fine grain of panelitas.
How is this different from fudge? No chocolate, no cream and only the butter that greases the pan. The milk is reduced for over an hour, so the flavor is caramelized milk rather than chocolate, and the texture is drier and more crumbly than American fudge.
How much does each square weigh? A liter of milk gives about 1¾ lb (800 g) of candy, so each of the 36 squares is about ¾ oz (22 g).
Nutrition per square
Per panelita (1 of 36, about 22 g), worked out from the recipe quantities:
- Calories: 75
- Protein: 1 g
- Carbohydrates: 16 g
- Fat: 1 g, of which 0.5 g saturated
- Fiber: 0 g
- Sugars: 16 g
- Sodium: 21 mg
About three quarters of the calories are from sugar, nearly all the rest from the milk. The coconut version comes to about 94 calories a square.
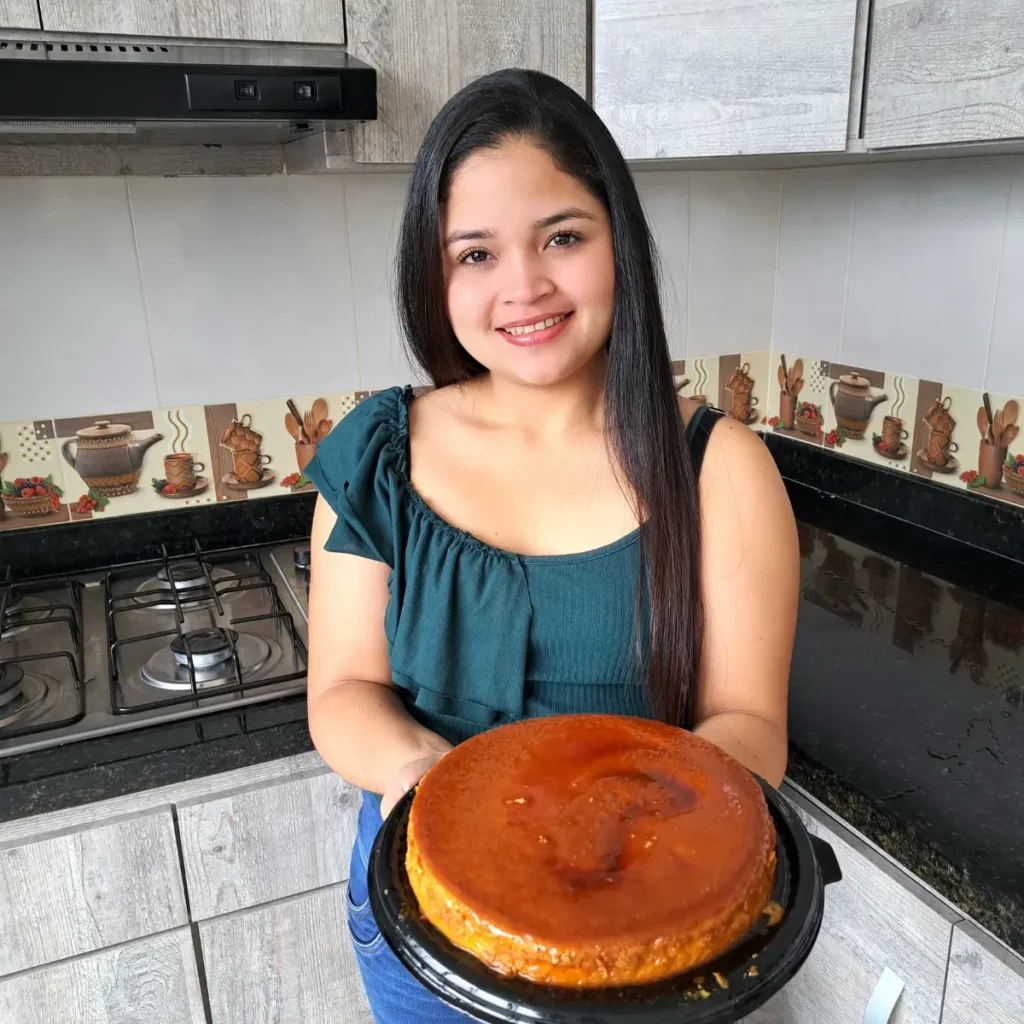
I cut mine small, 1¼ in, because they are very sweet and one is plenty with a coffee. And I never trust the thermometer alone: when I think the pot is there, I drop a bit into cold water, and if it makes the little ball, the heat goes off. Josnaisis.